|
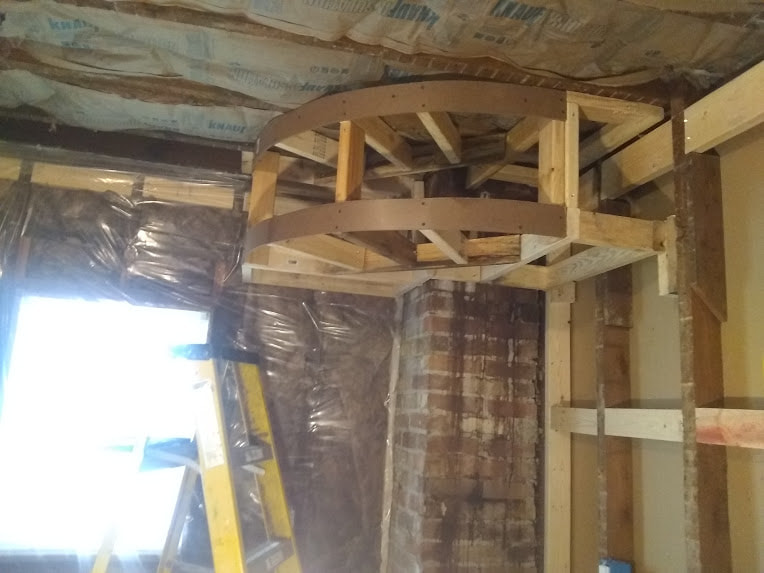
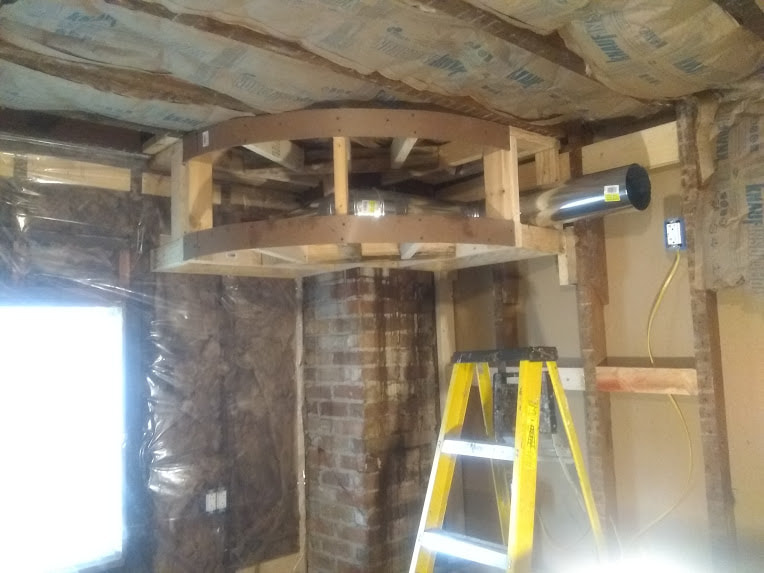
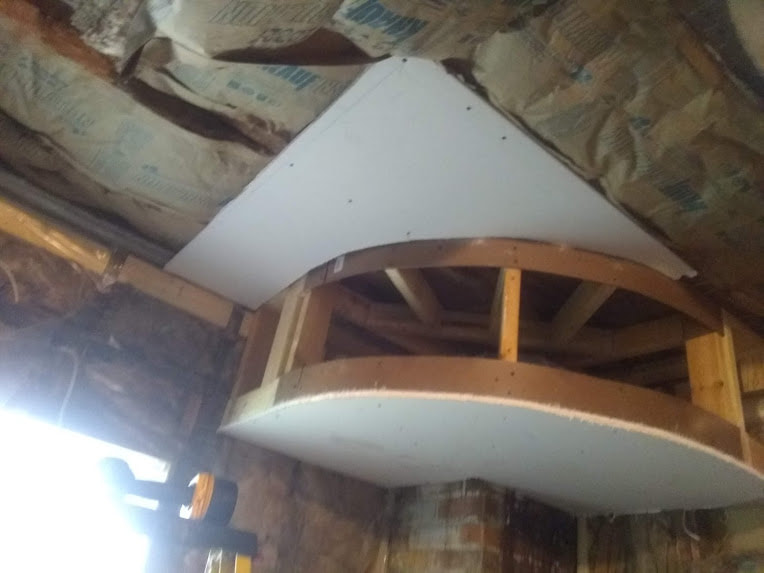
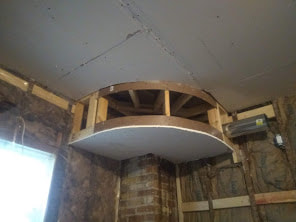
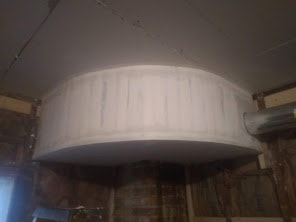
When remodeling a kitchen I discovered the chimney was tucked behind an odd corner. Rather than finding a way to cover it back up, I decided having an exposed brick chimney would make an interesting detail to the house. Duct-work needed to be run around it for adding venting over where the stove would be, so to keep things interesting, I decided instead of a normal rectangular, boxed soffit, a radius would make it appearar an intentional architectural design, rather than just a functional after-thought. I framed it with enough room to leave clearance for cabinets to be mounted underneath of each side. once framed, I installed the venting.
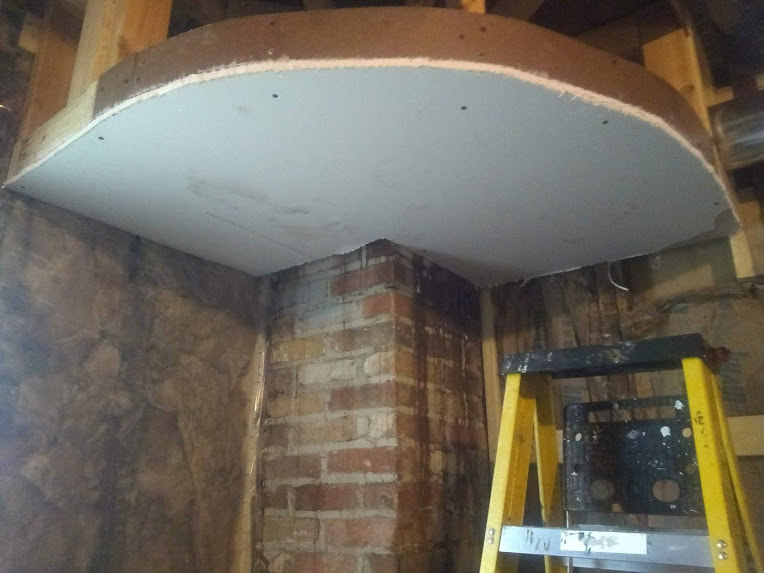
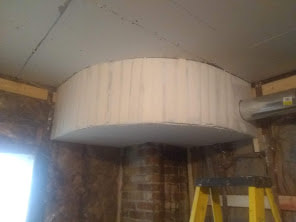
Radius walls and soffits present a challenge when it comes to drywall installation. Cuts no longer are making simple squares or mitered angles. To make things simple, instead of getting my numbers and swooping an arc, I notched the chimney out and ran a piece long at the bottom. Then I used the carefully cut off section as my stencil for the ceiling.
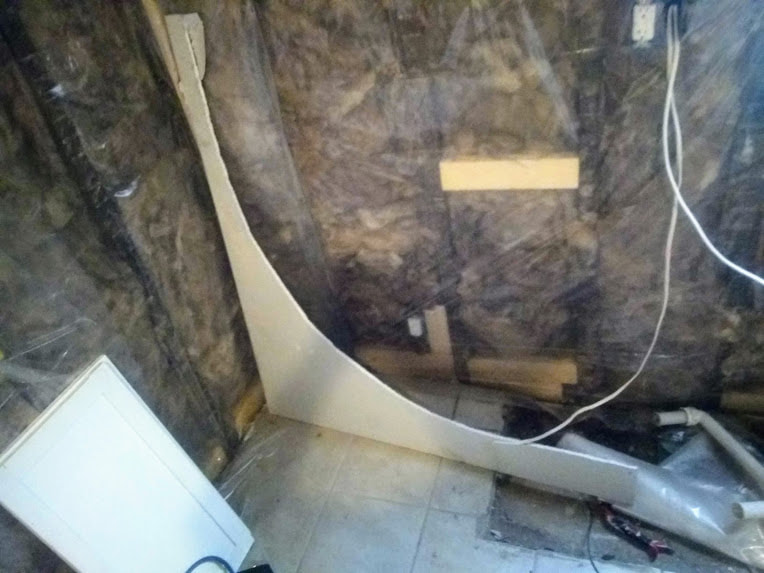
To cover the face of a radius some people like to use layers of 1/4" drywall, the wet & bend method or a combination of the two. This circle had such a tight clearance I opted to not even bother. There was a high risk of failure and wasted time using those two methods so I chose to cut a series of kerfs and snapped it along the round section of the radius. 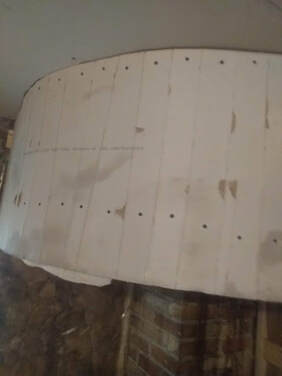 Taping and be a bit tricky too. For the bottom, since it is an outside corner, I used corner bead, the bottom had a series of relief cuts and the top side bent along the face of the radius. For the top, I used normal drywall tape. The top of the tape had relief cuts along the ceiling and the bottom was bent along the face of the radius. Each kerf was taped to keep the unit intact.
2 Comments
4/28/2022 02:25:22 pm
So to keep things interesting, duct-work needed to be run around it for adding venting. Amazing post! 9/19/2022 11:25:57 pm
Such an amazing information, keep up the good work. Thank you so much for sharing. Leave a Reply. |
Thor TorgerudResidential wood-frame industry since 2014. Archives
October 2019
Categories |

 RSS Feed