|
I'm working on two buildings at once in my backyard-- building a garage and a workshop. It's kind of entertaining because they are both built in very different ways since the landscape is unusual on my mature city lot. My garage sits six feet below grade and is built into a hillside since the alleyway is carved through the hill. My workshop rests on top of the hill and is set back from a retaining wall. 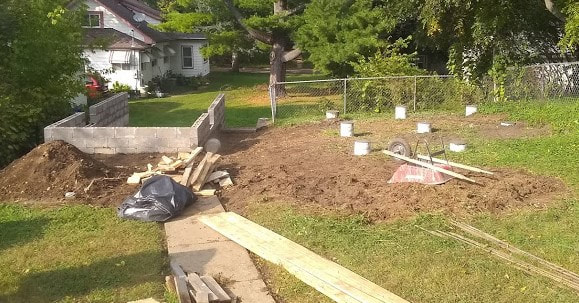
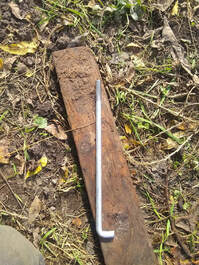
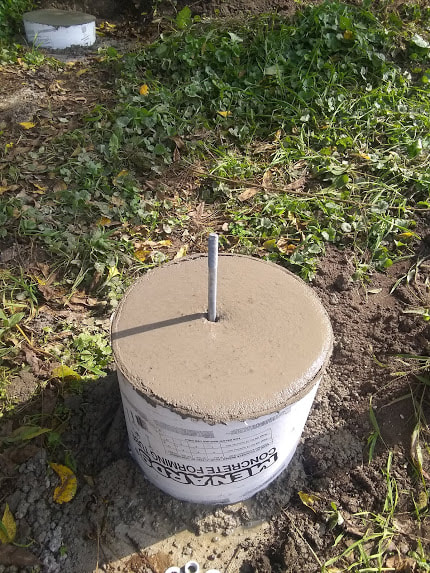
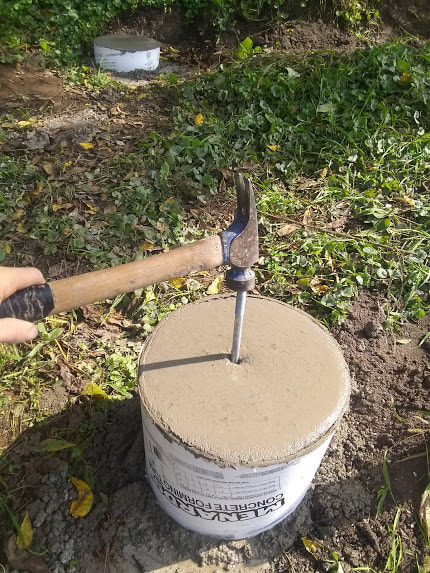
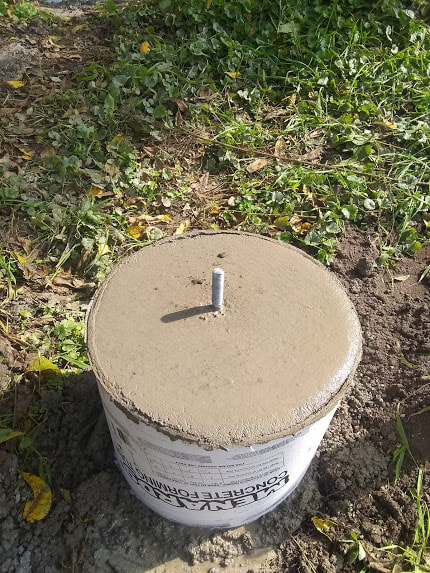
When using the typical J- bolt, the strength comes from setting the screw in while then concrete is still wet and allowing the aggregate to spread evenly around the hook giving it full strength. In my opinion, this is the ideal anchor for concrete since it is cast-in rather than drilled in later. One must be mindful of the finished height in relation to what will be attached to the bolt.
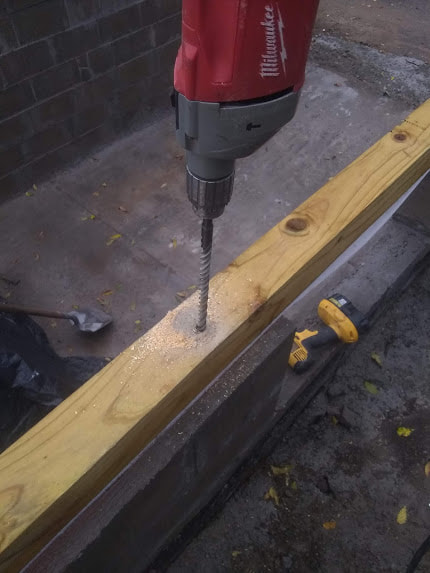
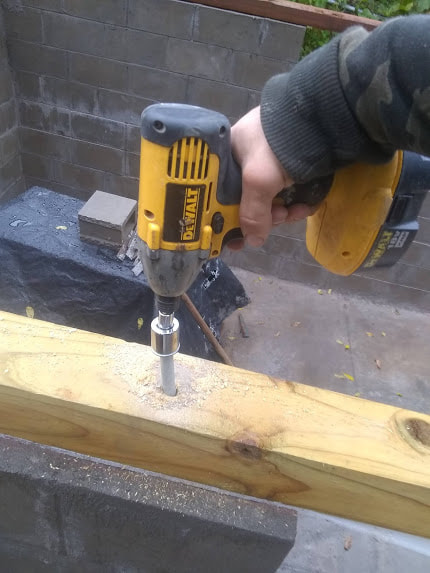
Titen HD anchor screws are a relatively new way to anchor framing to foundations. It hasn't caught on much in residential construction, but in large-scale commercial construction, walls are typically built off-site at a panel shop and it would slow production to have to drill holes in each wall panel to accommodate J bolts. Instead of drilling the wood frame around the anchors, the anchor is drilled right through both the framing and the foundation.
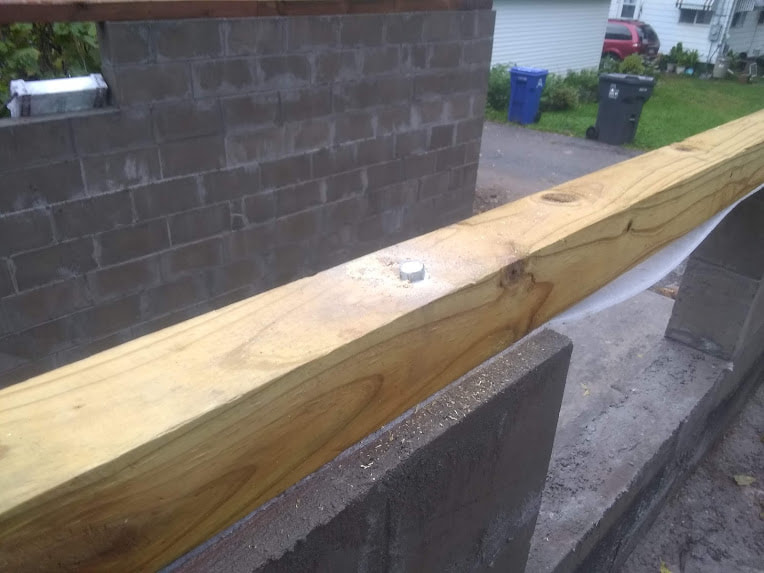 I'm a fan of the Titen anchors, they give builders a lot of flexibility in the building process when it comes to wood framing. An entire building can be framed before the green plates are anchored to the foundation. Framers can get moving ahead on the visual progress while the time consuming, but critical connections are made later.
1 Comment
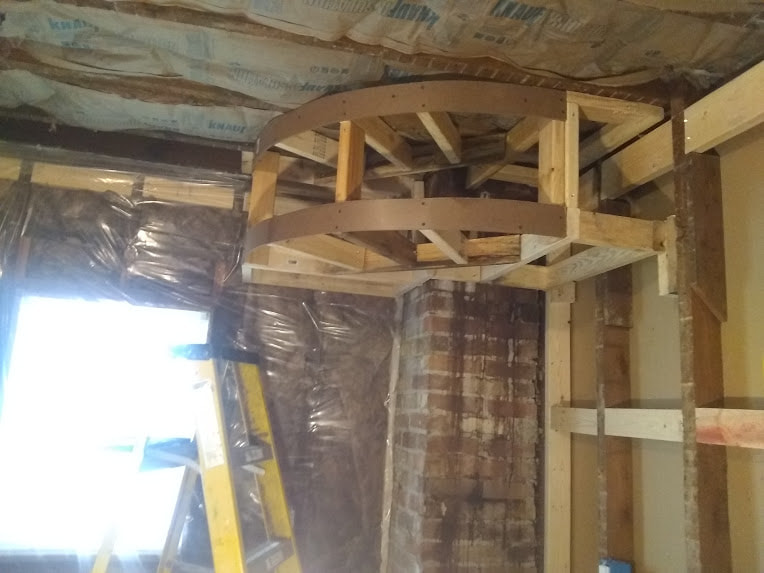
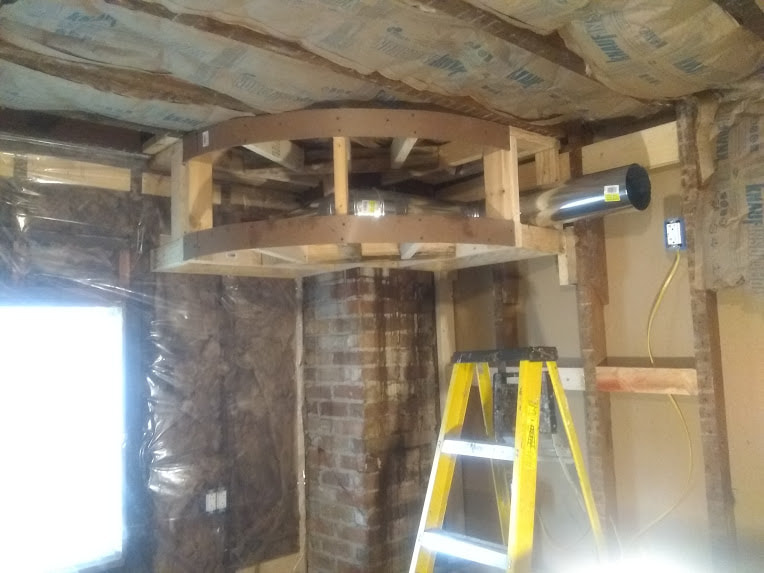
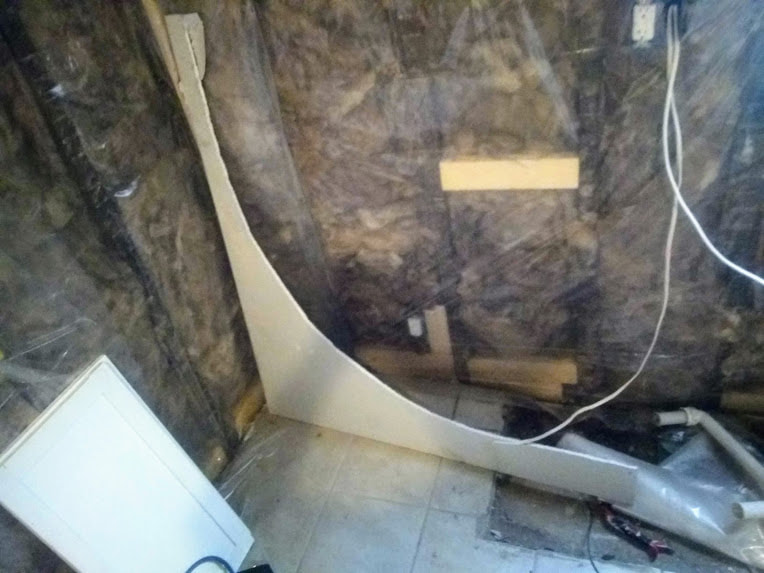
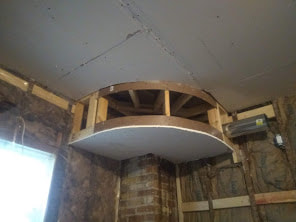
When remodeling a kitchen I discovered the chimney was tucked behind an odd corner. Rather than finding a way to cover it back up, I decided having an exposed brick chimney would make an interesting detail to the house. Duct-work needed to be run around it for adding venting over where the stove would be, so to keep things interesting, I decided instead of a normal rectangular, boxed soffit, a radius would make it appearar an intentional architectural design, rather than just a functional after-thought. I framed it with enough room to leave clearance for cabinets to be mounted underneath of each side. once framed, I installed the venting.
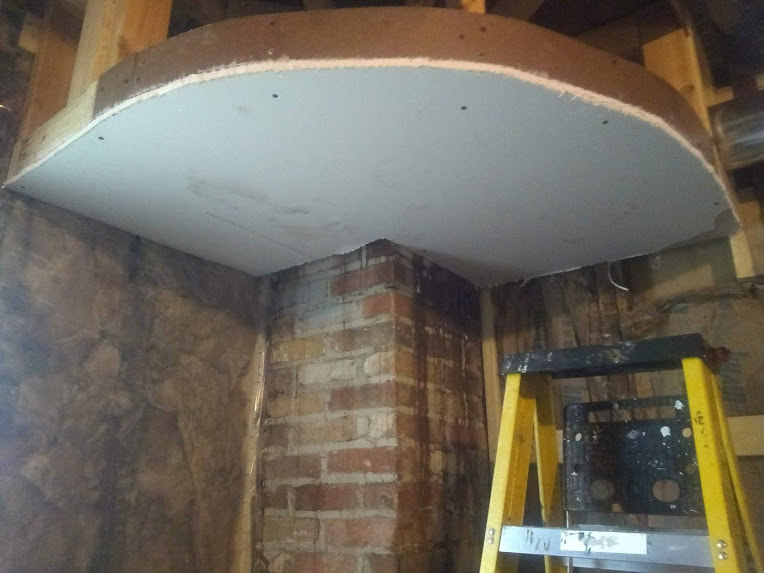
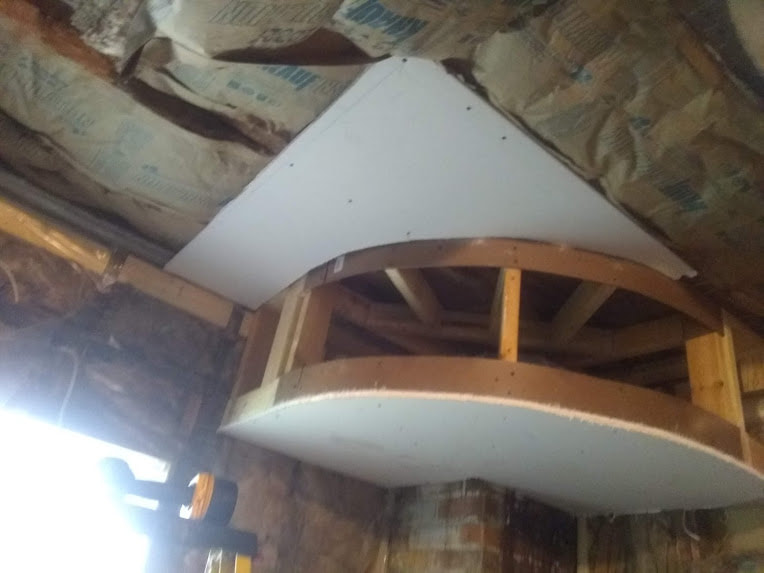
Radius walls and soffits present a challenge when it comes to drywall installation. Cuts no longer are making simple squares or mitered angles. To make things simple, instead of getting my numbers and swooping an arc, I notched the chimney out and ran a piece long at the bottom. Then I used the carefully cut off section as my stencil for the ceiling.
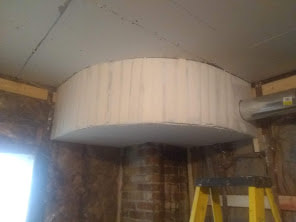
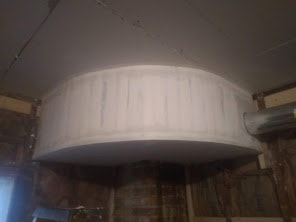
To cover the face of a radius some people like to use layers of 1/4" drywall, the wet & bend method or a combination of the two. This circle had such a tight clearance I opted to not even bother. There was a high risk of failure and wasted time using those two methods so I chose to cut a series of kerfs and snapped it along the round section of the radius. 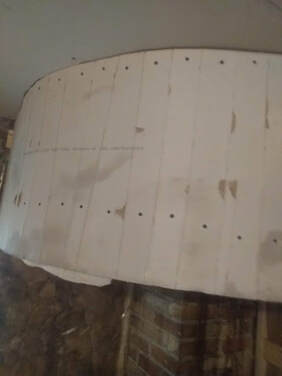 Taping and be a bit tricky too. For the bottom, since it is an outside corner, I used corner bead, the bottom had a series of relief cuts and the top side bent along the face of the radius. For the top, I used normal drywall tape. The top of the tape had relief cuts along the ceiling and the bottom was bent along the face of the radius. Each kerf was taped to keep the unit intact.
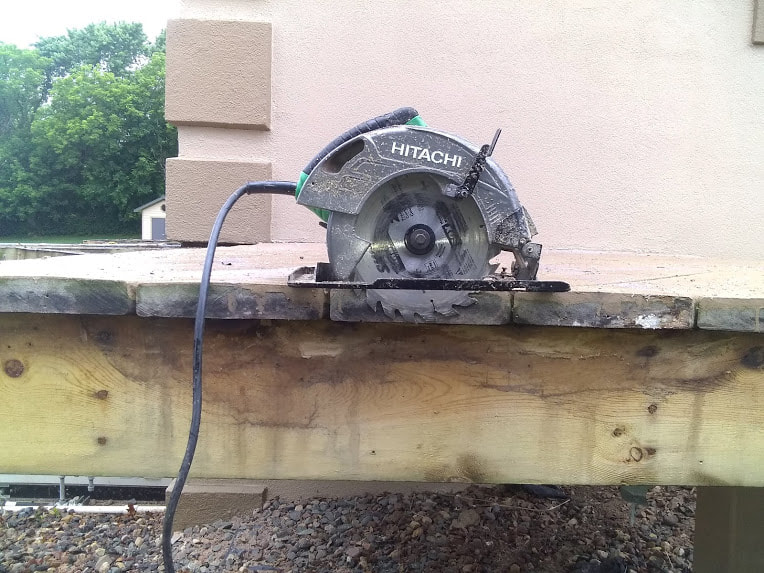
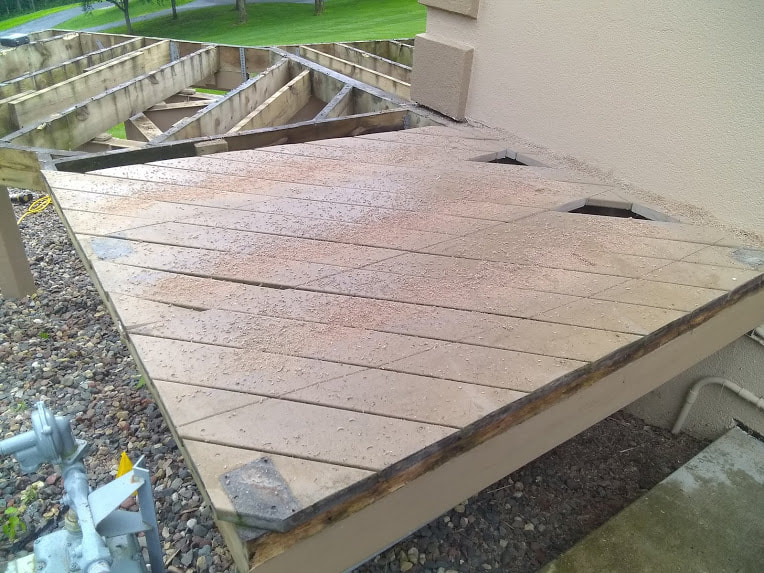
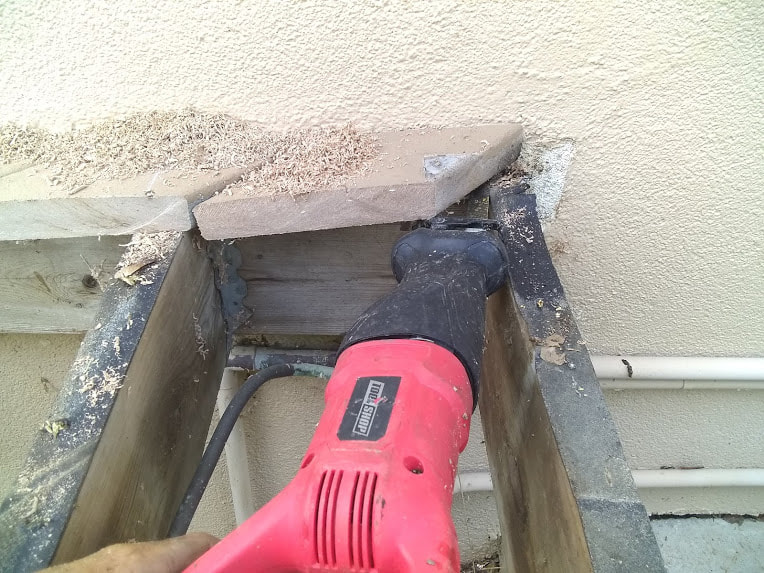
Sometimes when you have a deck restoration project, the screws are lodged-in so tight they are impossible to remove with a drill. Here are a few tips to help save some time and effort. This method can work with replacing any floor over joists, including structural subfloor inside of a home. Here is a photo of composite decking boards that needed to be replaced. Blue lines were snapped to show where the joists are underneath. They can be located by looking between the boards or by looking for the nails or screws at the top of the floor. 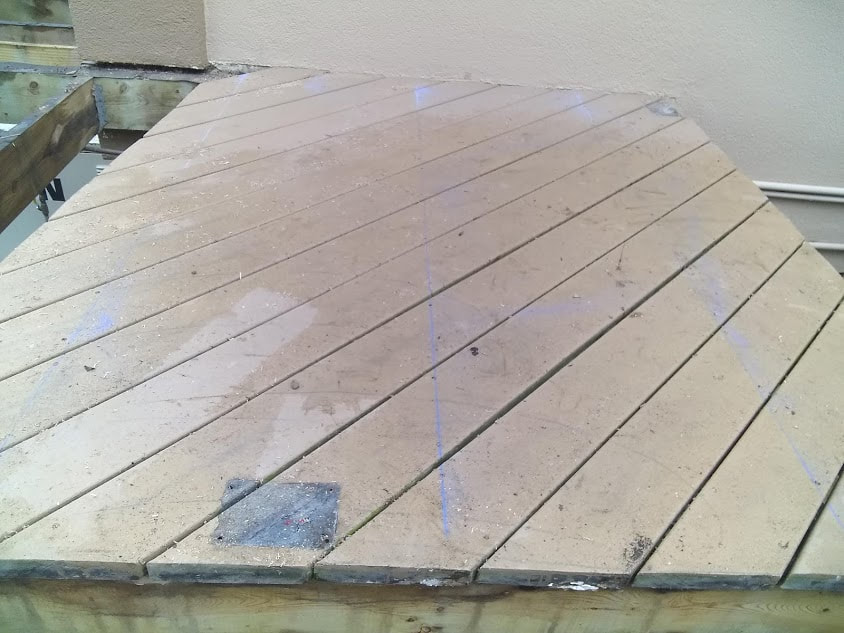 The structural floor joists are what supports the decking boards. You can make relief cuts between the spans of each joist and another relief cut along side the ledger board of the deck to loosen the finish floor from the framing. Make sure to set your blade depth so you do not over-cut and weaken the structural joists.
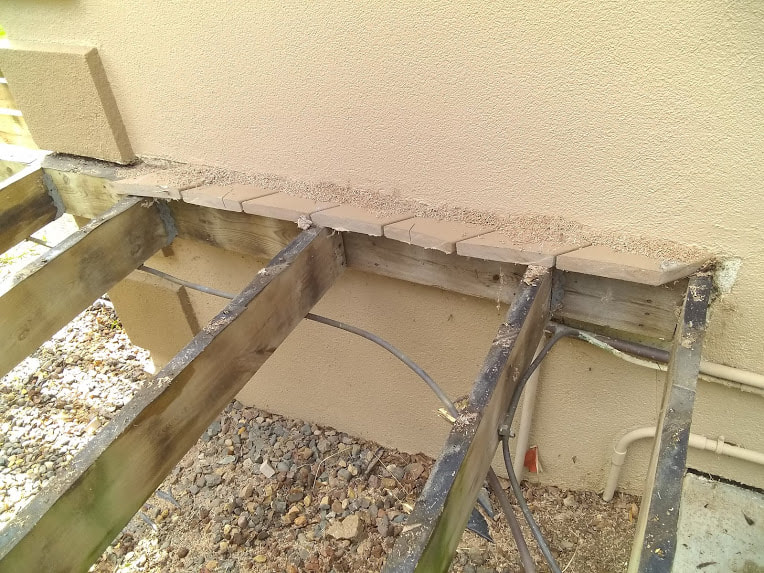
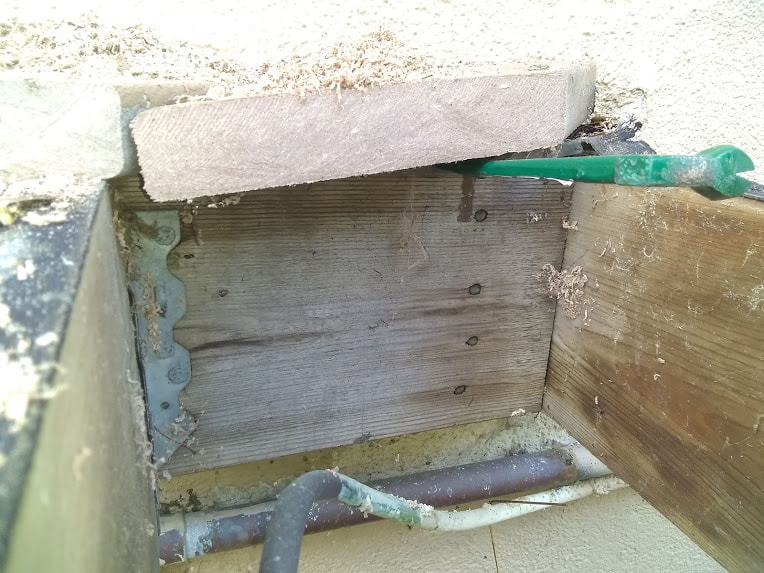
Once you get to this point, take a sledge hammer and have at it. 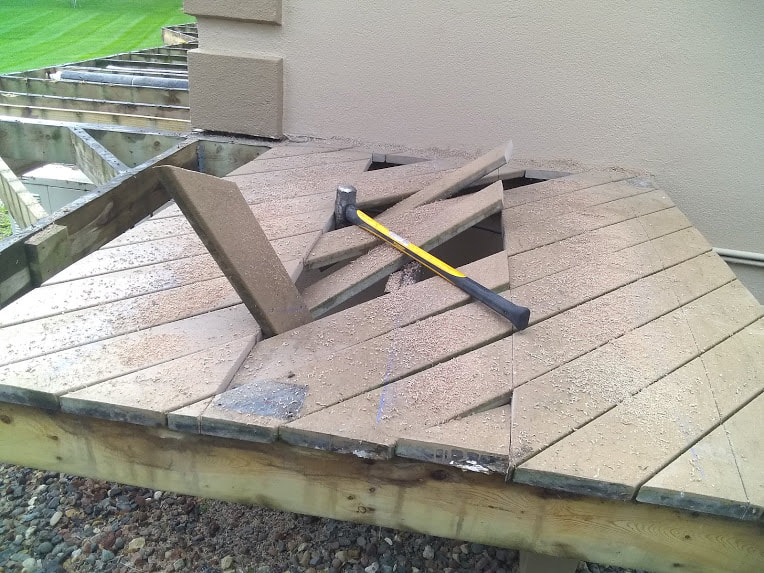 The tail ends of the decking along the ledger can be tricky. Try prying them up and running a reciprocating saw to cut the deck screw loose.
There you have it. A clean deck frame ready for remodeling. 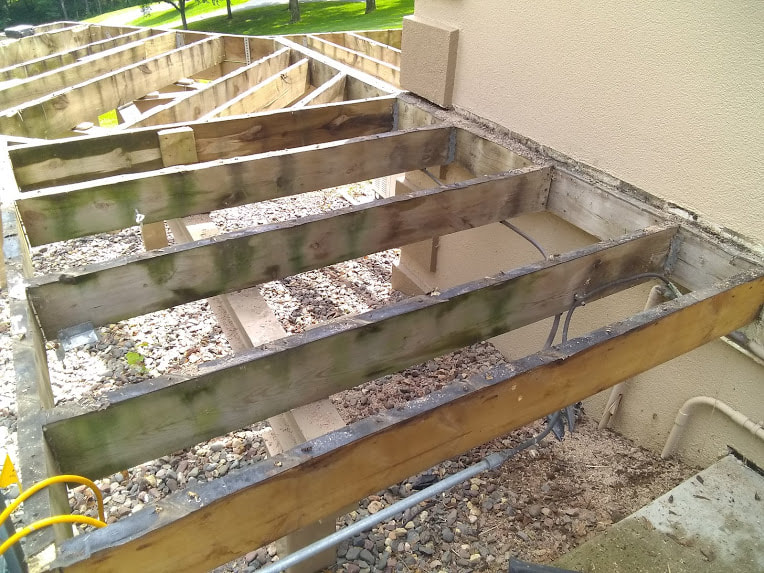 |
Thor TorgerudResidential wood-frame industry since 2014. Archives
October 2019
Categories |


 RSS Feed